First Impressions of the Raya Pro Panel
As some of you may already know, Jimmy McIntyre recently released his new processing plug in for Adobe Photoshop. Raya Pro is designed to make your processing workflow much simpler. Blending multiple images, luminosity masks, enhancements and web sharpening is all available through simple steps. It may sound like heaven, but how good is it?
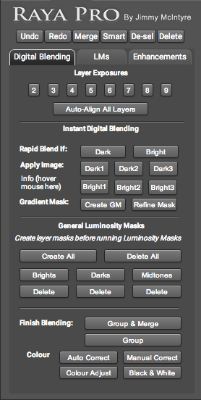
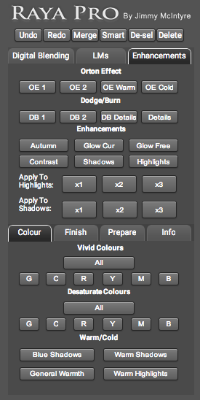
The Raya Pro consists of three functional categories; Digital Blending, Luminosity Masks and Enhancements. Lets take a look at each one and do an entire workflow while only using Raya Pro.
Note: I will not be going into depth on each and one function, but do a more general explanation of the workflow panel. At the end of this review I will add links to the Raya Pro Youtube channel where there are in depth tutorials on the various functions.
Digital Blending
Digital Blending is step one in the workflow, that is if you are blending images of course! After opening your images in photoshop, simply press the number of exposures you have, and all the files will be put as layers. Now align the image and you are ready to blend. All of these steps are rather basic and simple tasks already, but it does save a minute to just click the buttons in the panel. Easy!
Raya Pro uses two blending methods. The well known Blend If method and the lesser known Apply Image.
Blending images has never been easier than this. It's as simple as 1,2,3! Knowing whether you should use Blend If or Apply image is tricky. I usually start with Blend If and if the result is not pleasing I will try apply image.
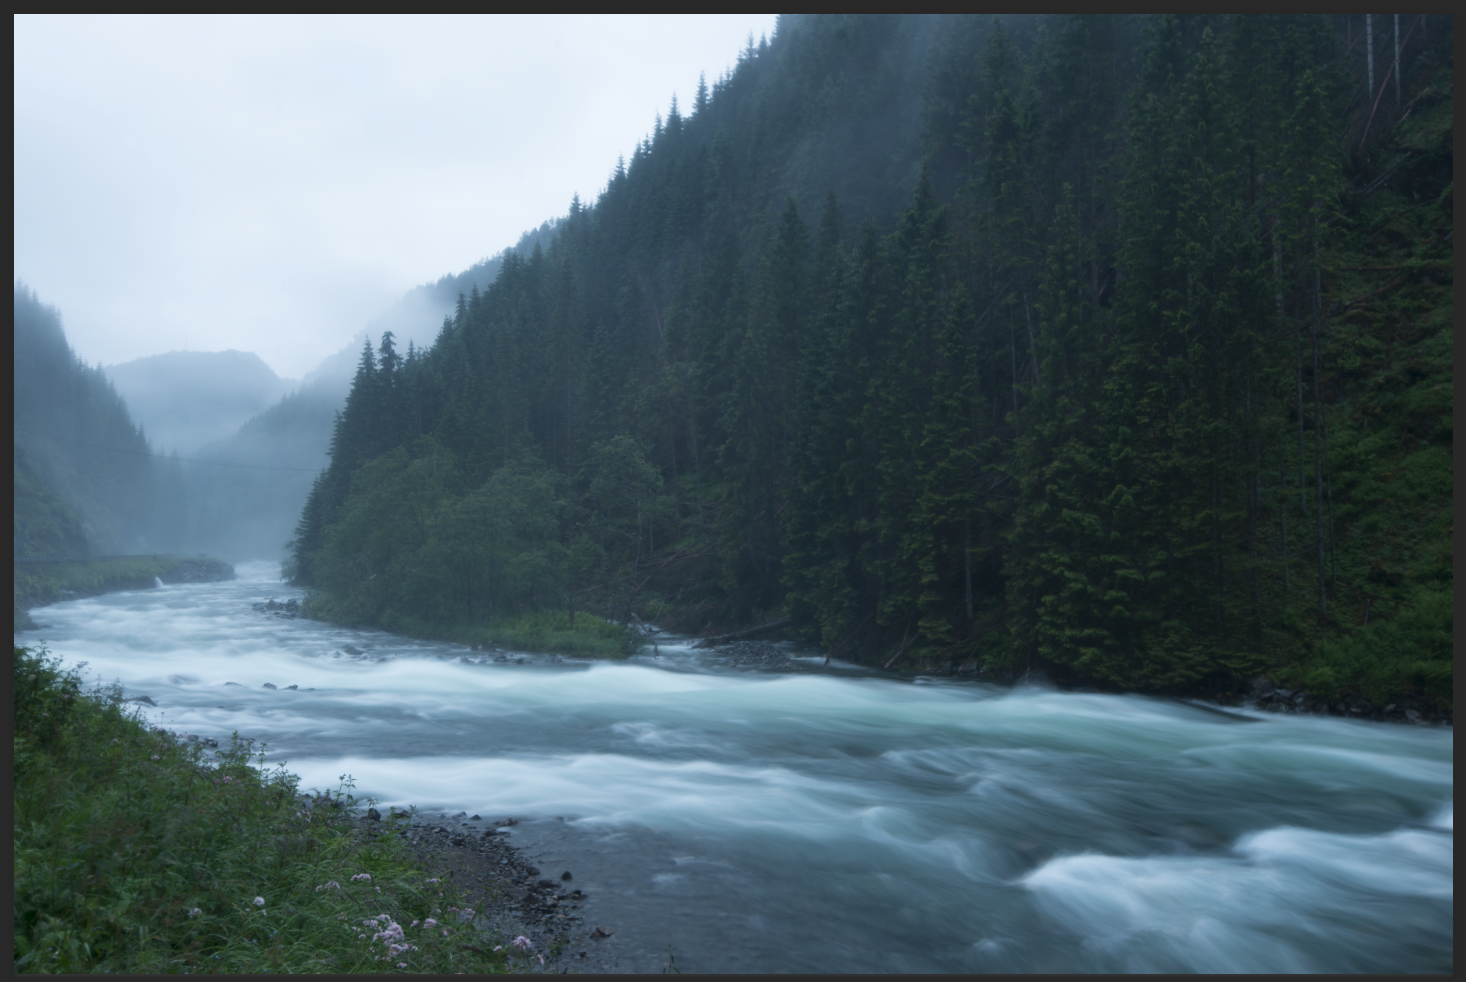
For the image used in this workflow I found Blend If to work great!
After the image is blended you can now easily Group & Merge. At this point I will step away from the panel for a second to use Camera Raw and then crop if needed.
If the image has a colour cast simply press the "Auto Correct" button and it is fixed. I've found the Auto Correct to deliver good results most the time, but I often reduce the opacity of the Colour Layer.
Should the adjustments be a little of, you can use the Manual Correct which is a little more advanced, but is well explained in the video tutorials.
Colour Adjust is a great tool to work on the tonal contrast and it darkens/brightens the selected range of colour.
Luminosity Masks
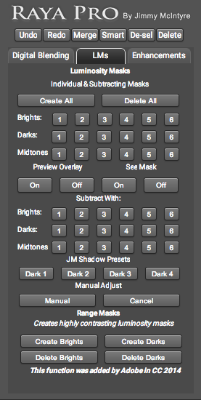
Now that our image is blended and colour corrected, it's time to continue the creative process by creating some Luminosity Masks (if needed for your specific photo). Personally I believe this is one of the coolest features in the panel. Creating Luminosity Masks has already been easy by using other panels, but the possibility to get a live preview of the mask is brilliant!
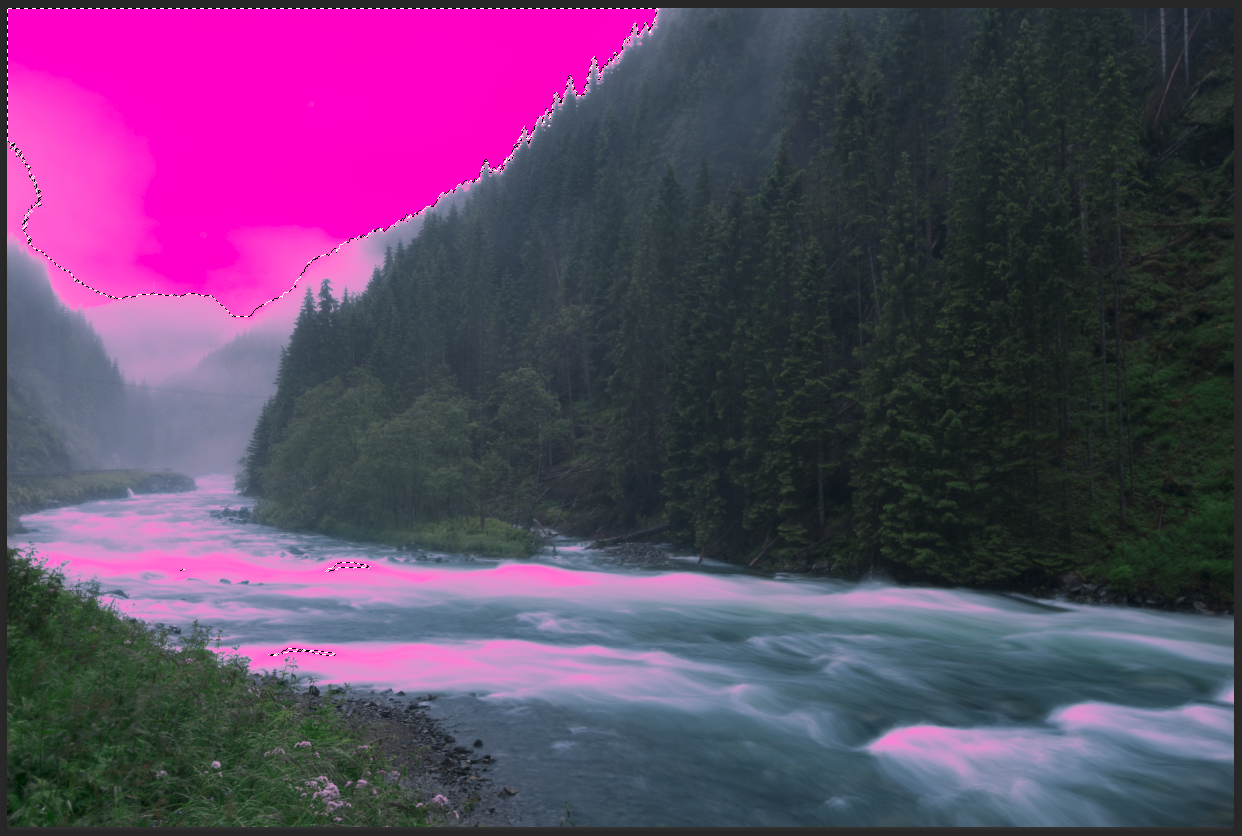
The Preview Overlay shows you exactly what parts of your image will be affected by the chosen mask.
After creating a white mask, choose the luminosity mask you think will suit the task and press Preview Overlay. You now have a pink colour covering all affected areas of the photo. This makes choosing the correct so much easier as you know each and every spot that will be selected. As you can see on my photo above, areas beyond the marching ants will be touched as well and most likely you would not be aware of that beforehand. Thats why the Preview function is such a important tool.
At first glance the Luminosity Mask category looks intimidating with all the numbers and options. Luckily Jimmy does a great job simplifying it through the tutorials. It actually is pretty simple once you get used to it. I will definitely be using more of this for my future workflows!
Another nice function is the Range Masks. These are high contrast luminosity masks that works perfect when normal masks cant make a good selection.
Enhancements
The third and last functional category is the Enhancements. In this folder there is many fun functions for you to play around with and explore with. I especially like the Apply to Shadows and Apply to Highlights function, which as indicated only applies the adjustment to highlights or shadows by creating a mask.
It's hard to go too much into detail about the adjustments as these are really dependent on your photo. I may find the Orton Effect to work great for one image, but not at all for another. At the end of the day I still prefer to make my own Orton Effect so I have 100% control through the entire process and can make adjustments dependent on my photo.
Vivid Colours is a function that I've grown to like a lot. It gives a nice boost in colours, but still subtle and does not over saturate. If you feel the adjustment is a bit to strong, simply reduce the opacity until you like the result.
On a general notice all the adjustments does a good job and depending on your style and your photo you might find them all useful.
Under the Finish tab you find a great tool named Sensor Dust. I have no idea why it's located under Finish, as this is one of the first steps of a normal workflow. However, the tool itself is great and creates a extremely detailed B&W to reveal all dust spots.
Theres also 5 buttons called Your Action. These are buttons you can easily add own actions too, such as web sharpening in dimensions than available in the panel, or maybe theres an adjustment you normally add to your images.
Raya Pro's web sharpening is one of the better available. It produces a sharp, clean result, and I've yet to get a over-sharpened outcome.
Conclusion
After using the Raya Pro panel for a couple weeks, and tried out every action multiple times, I've implemented parts of the panel to my workshop. There are still many tools and adjustments I use that are not located in Raya Pro, but the Digital Blending and Luminosity Mask actions fit perfect into my workflow. It's easy to use and understand and the results are great.
As for the Enhancements I still prefer to do most of them myself, but they are all of high quality and does a good job. I take my hat off and congratulate Jimmy in developing a outstanding panel that will help many photographers in their workflow.
At the good price of 39.99$ I highly recommend buying the Raya Pro Panel.
Tutorials can be found at the Raya Pro Youtube Channel

